Anytime
College of Fine Arts
Mask Making for Teens
DIY pre-printed 3D cardstock masks
Arts, Design and Media
Age group: Middle/Junior High School, High School
Materials Needed: • Computer and printer (or get mask printed at a friend’s house or a print shop) • Heavyweight cardstock to print mask on- any color you want your mask to be. Alien, Cat, and Skull use two sheets each, Dragon uses three sheets. • Scissors • Strong glue stick, double stick tape, or low temp hot glue gun • Markers, crayons, stickers, glitter, etc. for decorating (watery paints NOT recommended) • Single hole punch • Yarn, ribbon, string, or elastic Instructions: (see video for a follow along demonstration)
- 1. Print mask of your choice on heavyweight cardstock paper. (find plans for each mask linked below)
- 2. Cut top and bottom mask pieces out on the solid outline
- 3. Snip or cut on solid lines that have a scissors symbol % (make sure to catch them all, some are small cuts)
- 4. Fold on dotted lines as indicated on mask. Fold tip: flatten fold back out after creasing so that it’s easier to move on to the next one a. Fold In-fold toward the printed side b. Fold Out-fold toward blank side
- 5. Time to glue! Glue tip: glue tabs on each half of the mask separately before gluing the halves together a. Match lettered light gray tabs to matching dark gray areas b. Put glue on dark gray area c. Line up light gray tab over dark gray area d. Hold for a few seconds till glue dries
- 6. Time to decorate! Use markers, crayons, stickers, glitter, etc. to decorate your mask! Since our masks are paper, watery paints are not recommended.
- 7. Punch holes in the sides and add yarn/string/ribbon ties or elastic to finish. Bonus Challenge: Trace pattern onto cardboard, assemble, and paper mâché for a stronger, longer lasting mask.
- Video instructions for each mask:
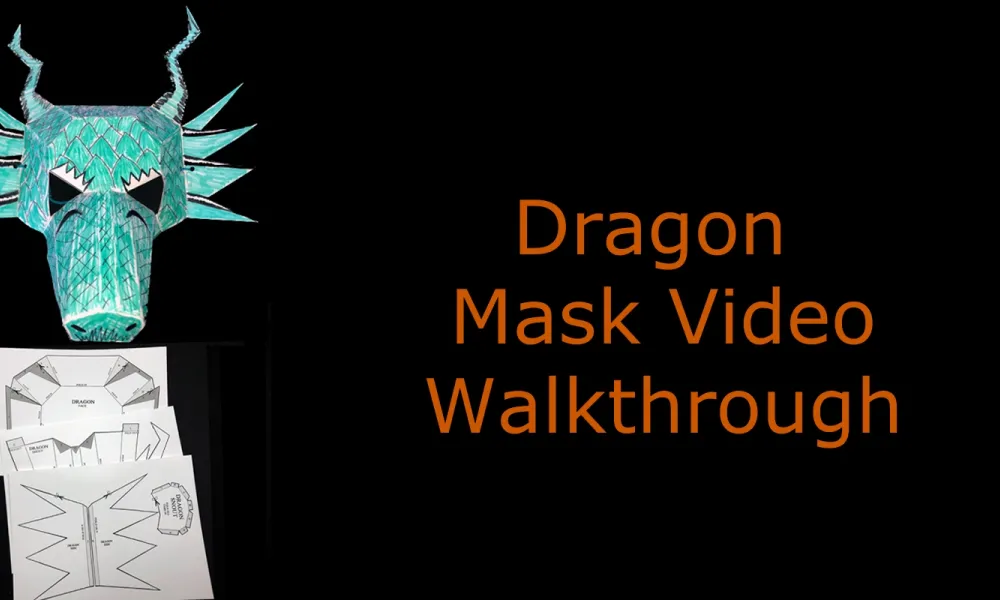
- Dragon: https://youtu.be/R5dINOSfA-c
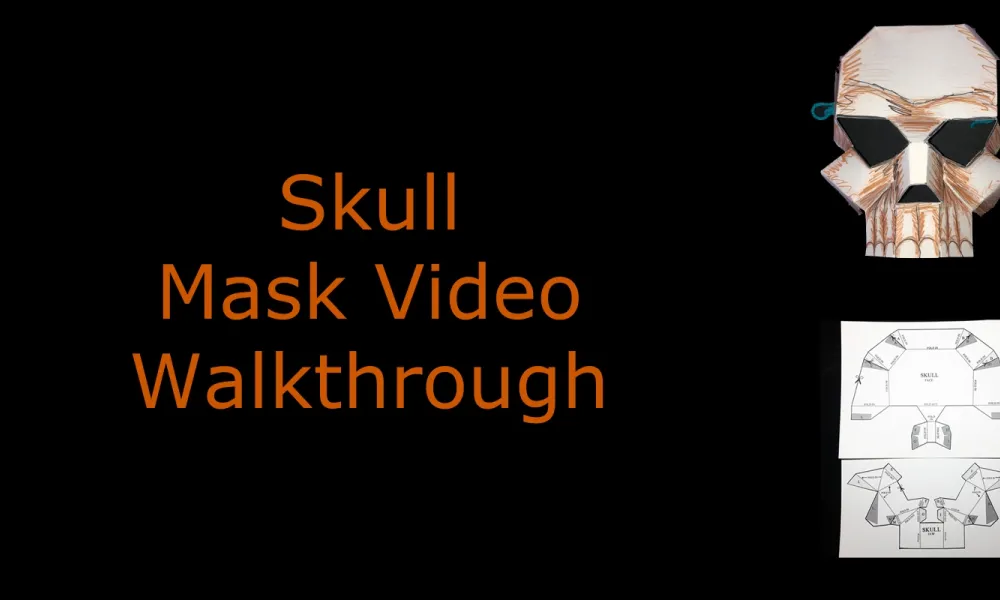
- Skull: https://youtu.be/a553MSMAMtU
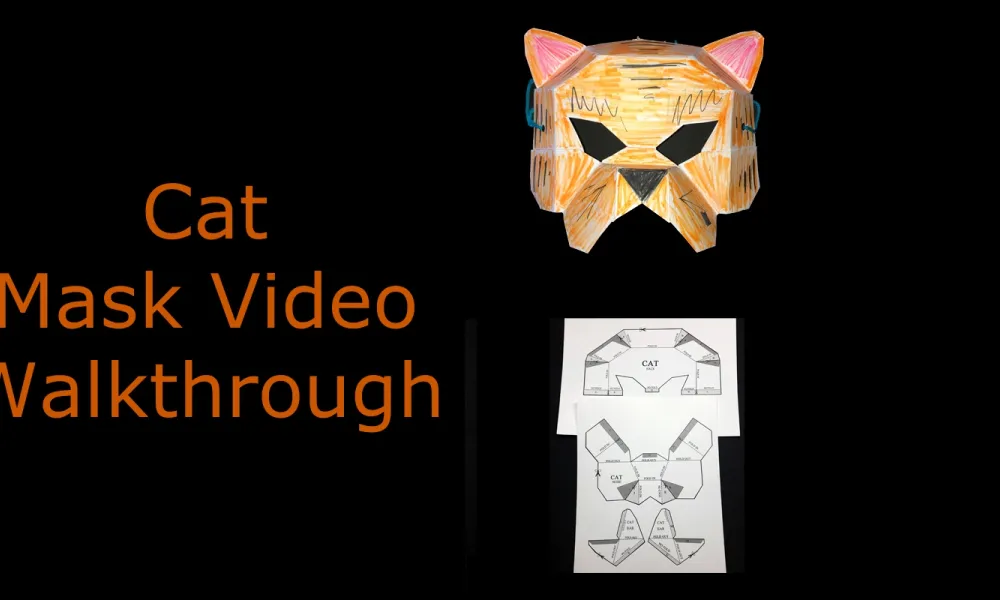
- Cat: https://youtu.be/6o_pGqUQHtM
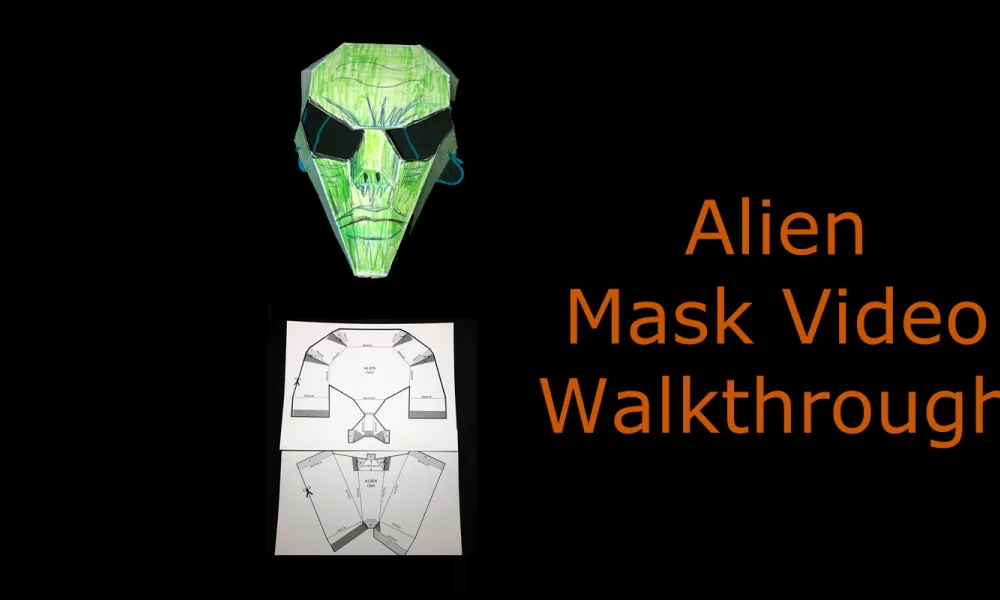
- Alien: https://youtu.be/nSORMVaUyZw
Resources
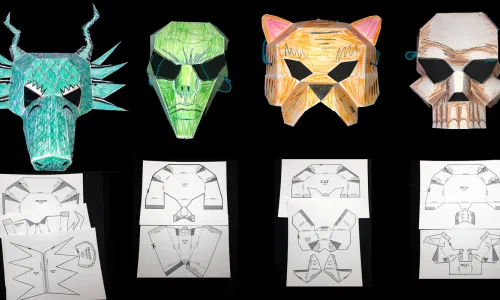
Image gallery